If you’ve been thinking about painting your house and have never painted before, you might think that there is no wrong way to paint. Unfortunately, this is not true. Using a roller to paint requires a specific technique to ensure that the paint is being applied evenly without streaks. In this post, we will take a look at the best practices to employ when using a paint roller. While this might seem self-explanatory, you would be surprised by the simple techniques you can use to paint that will make a major difference in the result. Read on to learn about the correct way to use a paint roller.
Using the Right Equipment
When painting with a paint roller, many things can go wrong that can lead to poor results. After spending a lot of time and energy repainting a room in your house, the last things you’re going to want to see are roller marks, paint build-up, or light areas. In this article, we will go over simple techniques you can use to avoid these mishaps. However, it is important to know that even the best technique in the world will mean nothing without using the proper equipment.
Many beginner painters make the mistake of wasting their money on a throw-away all-in-one roller setup. These are usually poor quality and are an inferior alternative to professional equipment that will last a lifetime.
Instead of these cheap alternatives, you should start by getting a high-quality roller frame. Once you have one, consider screwing a 48-inch wood handle onto the end of the paint roller to extend your roller’s reach while also providing you with better control.
Once you’ve got that, you should consider using a five-gallon bucket with a bucket screen that hangs over the edge. Most homeowners use paint trays, but you will rarely see a pro with one. This is because buckets are easier to move without spilling, and they can also hold a lot more paint. Additionally, you will be a lot less likely to step in a bucket of paint as opposed to a paint tray. Not only that, but your paint also won’t dry up if you decide to take a break because it is a lot easier to put a damp cloth over a bucket to preserve the paint. Finally, and most importantly, using a bucket makes it a lot easier to cover your entire roller with paint.
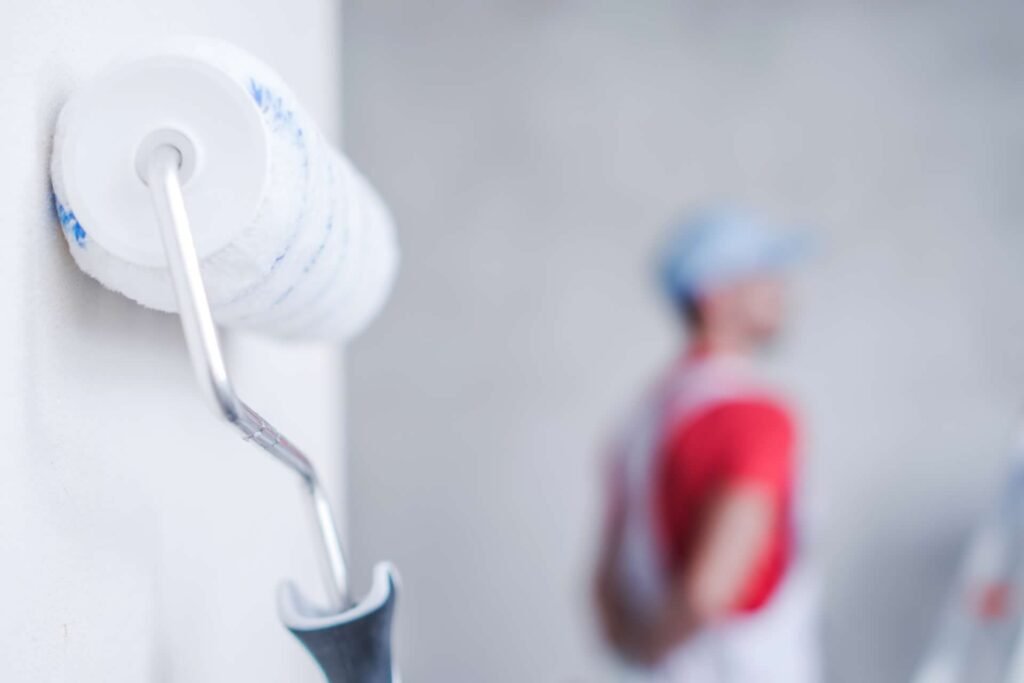
Consider Using a High-Quality Roller Sleeve
 Many professionals would say that the roller cover is probably one of the most important parts of your paint roller setup. Many newer painters will buy a disposable paint roller sleeve and throw it out when they’re done. However, buying a reusable wool blend roller cover can make a huge difference in the quality of your work. This makes them worth the few extra minutes of cleanup time they will need after being used.
The truth is that cheap roller sleeves can’t hold enough paint to provide a great result and can take you four times as long to paint an entire room.
Cheap roller covers can lead to inconsistent layers of paint, lap marks, and built-up paint ridges.
There are a couple of drawbacks to wool covers thought. Wool covers are prone to shedding fibers when they’re used for the first time. However, you can reduce this shedding by wrapping the new roller cover with masking tape and peeling it off to remove any loose fibers.
Another slight disadvantage of these roller covers is that they can become matted down when you apply too much pressure while painting. This is why you should use a light touch when using wool roller sleeves. Never apply too much pressure; just use more paint.
How to Properly Paint a Wall
 Now that you’ve gotten yourself a 5-gallon bucket and a high-quality roller frame and sleeve, you’re ready to begin painting your room. To start, lay the paint on the wall with a large sweeping stroke. Start about a foot from the bottom of the floor and six inches away from the corner of the wall. Begin to roll upward at a slight angle using light pressure until you are about a few inches away from the ceiling.
After that, proceed to roll up and down in the direction of the corner you started at to quickly spread the paint. At this point, it is ok to let the paint build up; it doesn’t need to be perfect in the beginning.
After rolling the roller up and down from floor to ceiling, you can move the roller about three-quarters of its width in the direction you’re painting to overlap the previous strokes. Once you’ve reached the corner trying to get as close to the adjacent wall without touching it. Complete these steps until the entire wall is painted.
More Tips for the Perfect Paint Job
- Keep a wet edge.
If you’re trying to avoid roller marks that are visible when overlapping paint, you will want to work fast enough with a wet roller edge that is constantly overlapping any already wet paint. The last thing you want is to lap over dried paint in a previous section. This will inevitably lead to a lap mark where the wet and dry paint meet. With that in mind, it is important to always keep a wet edge on your roller to overlap any paint that was just applied. - Lay it on, then smooth it off.
Common mistake beginner painters make, whether they are brushing or rolling, is taking too much time to apply the paint. As we described earlier, it is important to keep a wet edge to overlap your previous stroke before it dries. Having a good-quality roller that holds a lot of paint will allow you to apply a good amount of paint to the surface that can then be smoothened off in the next stroke. The key is to constantly be smoothening out your previous strokes with your next stroke. Doing this will ensure a consistent application of paint with no roller marks, light spots, or streaks. - Get as close as you can.
When you’re getting close to the edge of the wall, you will need to fill in the gaps that you can’t reach with a roller with a paintbrush. However, the key is to leave as little space as possible between the corner of the wall and the roller. This ensures that the spots you will have to go over with a brush will blend into the rolled paint as smoothly as possible. To get as close to the edge as you can, make sure that the edge of the roller isn’t fully loaded with paint.
Related post: How to Paint a Wooden Front Door.
Summary
![]()
Having gone over the proper equipment needed to properly paint using a roller, as well as the techniques you should use to roll correctly, it has become clear that painting with a paint roller is not as easy as it might seem.
However, by following these techniques and recommendations, you probably can do very well at least as a beginner.
But if you need a professional aproach, BEST PRO BUILDERS offers a full range of professional construction services and solutions to fit virtually any need or budget. From full design/build services to installing that backyard patio and outdoor kitchen you’ve been dreaming of, you can trust our team to deliver.
No matter if you need construction, remodeling or some other home services, count on us to make your house a beautiful and real safe home!