Tile is often a great choice for the kitchen, as they are durable and can stand up to a lot of traffic, spills, splashes, etc. The most common materials for tiles are ceramic, porcelain, and stone, and they can be applied to many types of flat surfaces. This includes floors, counters, and backsplashes.
You will find that the installation methods are similar. Below, we will be looking at the correct way to lay tile. The first step, regardless of where you are installing the tile, is to make sure you have all of the proper tools and materials with you and that they are ready to go.
Clean the Walls or Prep the Substrate and Backerboard
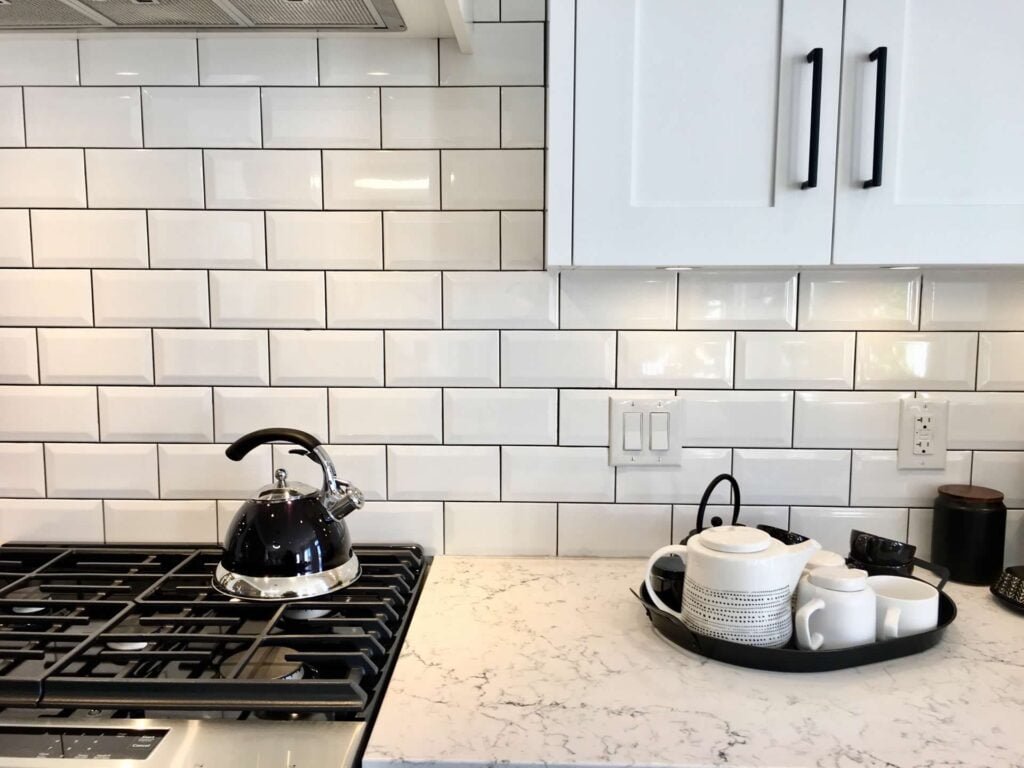
 If you are going to be laying a backsplash, you need to make sure the walls are cleaned. Remove any switch plates and outlet covers and be sure to remove loose paint or wallpaper.
When installing on the floor, you will need to have a proper substrate. For most floors and counters, a common substrate will be ¾-inch plywood.
Additionally, it is possible to apply tiles over vinyl flooring and laminate countertops. However, you will often get better results by removing it and replacing it with new plywood.
You will then add the backerboard. This is a relatively thin sheet of cement that has added fibers to help give it more strength. It can be screwed onto the substrate and provides water resistance.
Plan the Layout
Whether you are putting up a kitchen backsplash, tiling the counters, or redoing the floor, you need to have a plan. Lay out the tiles where they are supposed to go when they are applied. This will let you know whether you have all of the materials you will need, or if you need to buy some added tiles. It tends to be a good idea to have a few more than you need, just in case there are mistakes made.
You will not only know the number of tiles you will need, but you will also know where they may need to be cut. This is true for flooring, as well as for backsplashes. Once you know what needs to be cut, mark the tiles.
If you don’t have a saw that can cut the tiles cleanly, and you are doing the tilework yourself, you can buy or rent one. Look for a diamond-bladed wet saw. Don’t try to use a saw that’s not meant for cutting tile to do the work. This can result in damaged tile.
Mortar and Placement
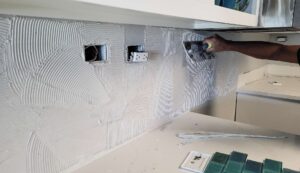 Apply a thin layer of mortar to the surface where you will be adding the tiles. Use a notched trowel to ensure it is properly smoothed and has ridges of even sizes along it. One of the most common trowel notch sizes for this type of work is 1/8-inch.
You can then install the tile. For flooring, tiles are often applied one at a time. For backsplashes, it is common to have tile in sheets for the larger spaces. Line them up and apply them but be sure to use tile spacers to ensure there is a consistent gap between the tiles. Apply more mortar and then move on.
After the tiles have been added to the backsplash, press them firmly into the wall. Let the mortar set for at least 12 hours and then mix your grout.
Work the grout into all of the joints between the tile to fill all of the gaps you made with the spacers. You don’t want any air bubbles or holes. Then, wipe away the excess grout using a wet sponge and wipe it dry with a towel. You can then add a grout sealer to reduce instances of staining.
While you might be able to take care of tile installation, it can be something of a large job. It also takes certain tools and knowledge to ensure it’s done right the first time. If you don’t want to do it on your own, be sure to connect with the professionals. Contact Best Pro Builders today.