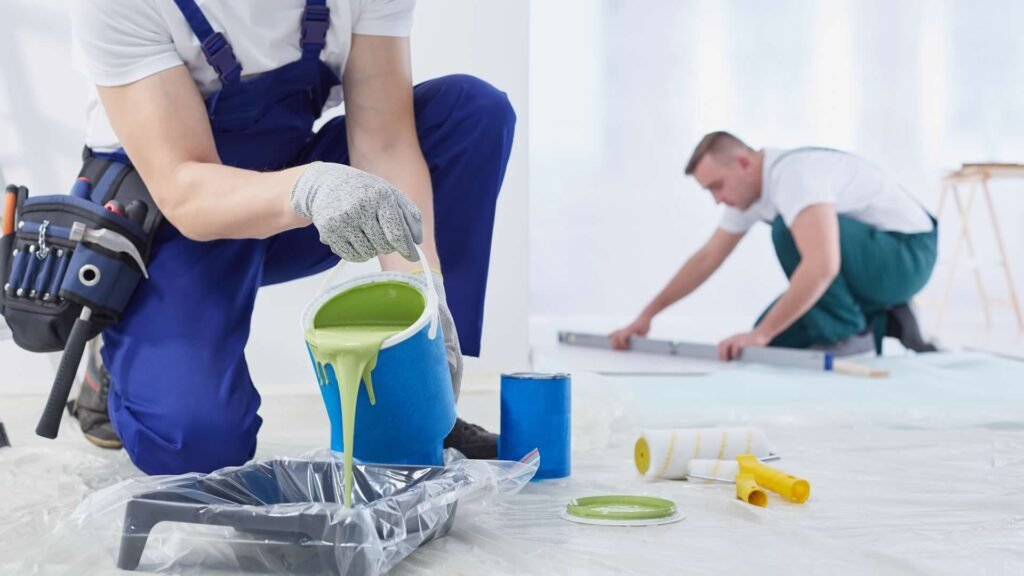
Adding a fresh coat of paint to the interior of your home can be one of the most cost-effective remodeling jobs you can do. Fresh paint can make a huge difference to the look of your home, making it feel cleaner and brighter. You can hire a professional painter or a specialized company to get the painting done perfectly but painting your own home is always a possibility.
Painting your interior walls is a very manageable task and can be done within a couple of days. In this post, we will provide a breakdown of the steps you need to take to paint the interior of your house.
Step 1: Choose Your Colors

Before beginning the painting process, you will want to choose a color that matches your home’s style. If you have a lot of dark furniture or dark wood floors, you might consider painting your home a lighter color to brighten up the space.
A bright neutral paint could offer a nice contrast to the darker colors in your home. Once you’ve decided on the color, you can begin the painting process.
Step 2: Prepare the Room
Painting can be messy at times, but you can prevent any serious damage by properly preparing the room you are about to paint. To do this, you should lay down a tarp that covers the floor of your room. Make sure to take out any furniture or decorative items you don’t want paint spilling on. Additionally, you will need masking tape to cover any trim or moldings you don’t want to be painted.
Tape should also be used on the edges between the ceiling and wall if you’re planning on having two different colors. After you’ve covered and taped the room, you will want to make sure to fill in any cracks or patches with an adhesive to maintain a smooth painting surface. Once you’ve made the necessary preparations, you can proceed to the next step of actually painting.
Step: 3 Start with the Ceiling
Starting with the ceiling is usually the recommended way of beginning any paint job. This is because the paint will most likely splatter onto the walls when painting the ceiling, which is the last thing you want after painting an entire wall. Starting with the ceiling allows you to paint over any overspray that may occur when completing the ceiling.
When beginning with the ceiling, you will want to apply a coat of primer and then two coats of paint. Using a wide roller is usually the best way to go to cover the most area per brush stroke. Start from one corner and make your way across the perimeter of the ceiling, gradually filling in the space toward the center of the ceiling.
After completing both coats of the ceiling, let it dry for the night and check to see if any spots need to be touched up with a small brush the next day when you will paint the actual walls of the room.
Step 4: Paint the Walls

After the ceiling has dried, you can begin to paint the interior walls around it. Start from the corner of the wall and make your way toward the other side. Make sure to apply a coat of primer and two coats of paint.
Use a wide roller to cover as much space as possible and try to apply an even amount of pressure with each brushstroke.
Be careful not to paint over the protective tape that was applied on the edge of the ceiling and moldings.
Once both coats of paint have been applied, you can move on to painting any trim that might need to be refinished.
Step 5: Paint any Trim or Moldings Around the Floor or Ceiling
Once you’ve completed the walls and ceiling, you can proceed to add a coat of paint to any moldings or trim in the room. This can be done relatively quickly and doesn’t need to be as precise as the walls and ceiling. As long as you’re using a consistent layer of paint and filling in the trim in a uniform way, it should turn out looking good.
Step 6: Clean Up
Once you’ve finished painting everything in your room, you can begin to clean up all the paint trays, brushes, and plastic coverings on the floor. Rinse out your paint tray and brushes until they are clean. Once you’ve done that, you can put that equipment away and remove the tarp covering the floor. Once removed, you can proceed to unpeel the tape around the perimeter of your walls and ceiling. Make sure to sweep up any dust or dried paint that might have accumulated during the painting process.
Summary
Painting the interior of your home can be a great way to freshen up your space. It is many times underestimated how big of a difference a fresh coat of paint can make. Not only will it make your home look cleaner, but it can also completely brighten up your space. With many color options to choose from, painting can be a great way to add your creative touch to the house while also making it look updated and appealing. While painting might seem like a daunting task, it is a relatively simple process.

We hope that this overview of how to paint the interior walls of your house gives you the confidence to take on a painting project on your own. By following the easy steps laid out in this post, you can be sure that your home will be looking fresh, clean, and bright. Painting doesn’t have to be hard. It can many times turn out to be a really satisfying experience. If you’re interested in doing it on your own, do not be intimidated. It can be done with a lot less effort than you might think.
However, as we said, you can always count on BEST PRO BUILDERS! we can help you with a full range of professional services. From full design/build services to installing that backyard patio and outdoor kitchen you’ve been dreaming of, you can trust our team to deliver. Construction, remodeling or some painting service: you can count on us to make your life easier!

